
How to Effortlessly Clean a Decanter
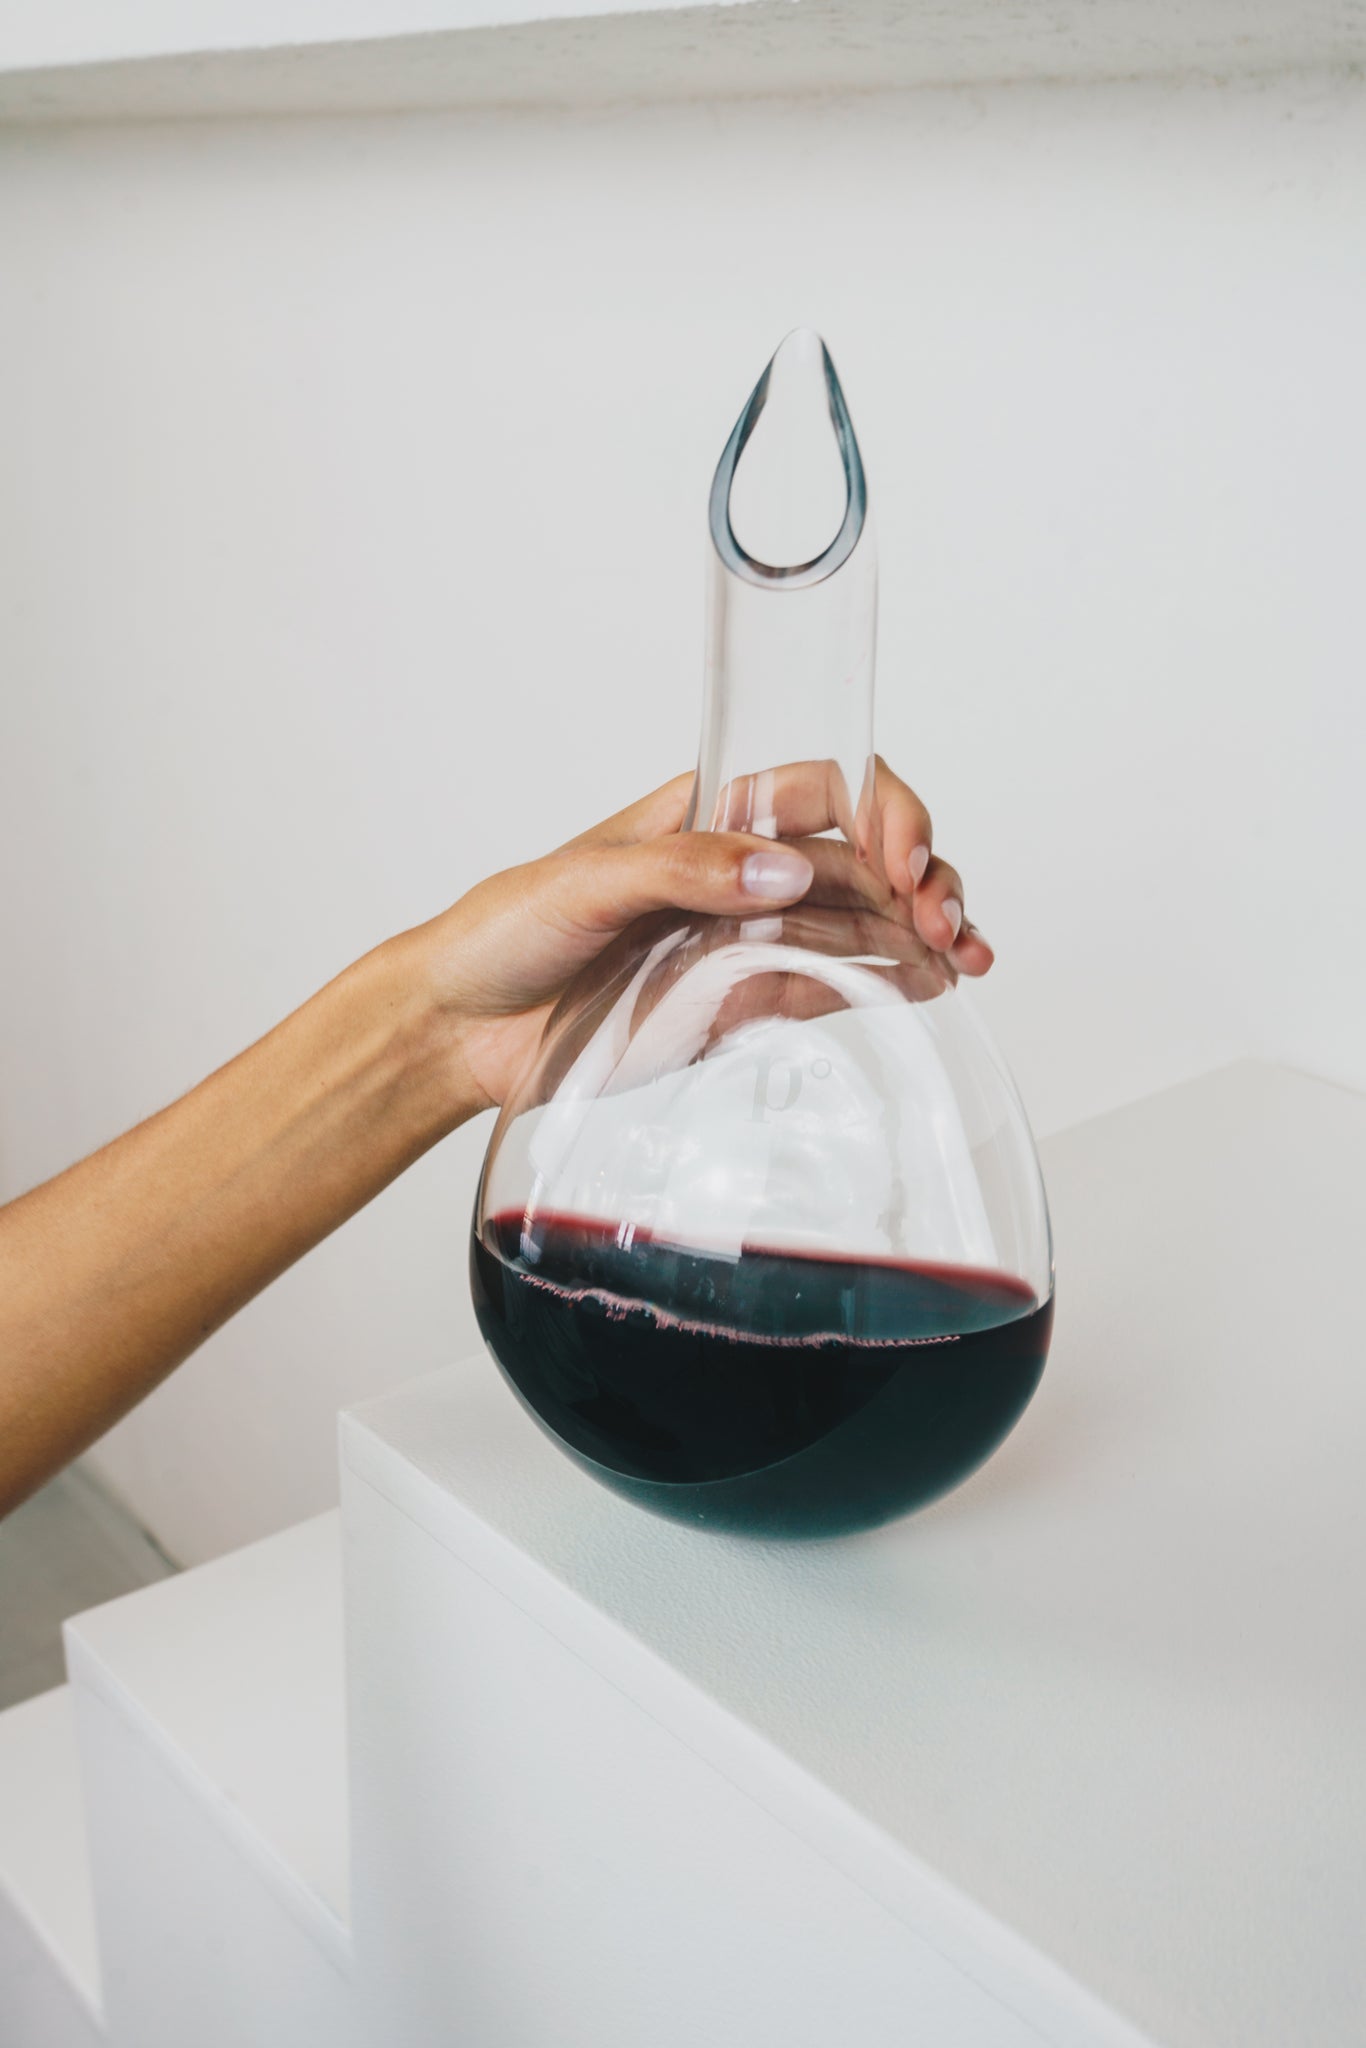
This is one of the questions we are asked most often by our customers. And it is a good one when you consider the unique shape of our bastarda or engomada. But cleaning a decanter can and is quite easy even those with the oddest of shapes.
Do not let this deter you from using your favourite decanter. There are many reasons why people do not use their decanters simply because they are afraid of the cleaning task. Here are some of the most common objections:
This certainly makes it a bit trickier, but it can be easily overcome. We will show you how in the next section.
"It's too much work cleaning, not worth the trouble."
While we have outlined in a previous post why you should always be using a decanter regardless, it is a myth that cleaning takes a long time. New methods make it practically effortless.
"Because it is a fragile piece and can't go to the washing machine, I'm afraid of spoiling the decanter."
A valid concern but there are some useful tips and tool that make this a non-issue with minimum care.
In this guide, we will give different methods and tools to clean your decanter and it is up to you which one to use. Please keep in mind that these will always depend on the size, shape, and preciousness of your piece in addition to the tools you have available.
The Don’ts
Before we get to the actual cleaning, it is important to mention some common mistakes to avoid beforehand:
- Do not put your decanter in the dishwasher as it is too rough on the glass/crystal and may damage it. In the same fashion, do not use a sponge either.
- Do not use boiling water. Warm or hot water is recommended.
- Do not use dishwasher soap or detergent. It might leave behind residue and faint flavours.
- Do not let a used decanter dry for too long with wine still inside. This makes the stains considerably harder to remove.
- Expose the decanter to sudden temperature changes. Glass is fragile and can crack under this effect.
- Do not use personal jewellery and watches while cleaning to prevent scratching the glass.
Preparation
After a nice evening drinking wine in good company, the last thing a person wants to do is to clean a decanter. While we suggest this is the best option, it is not the only one. If you are really tired (or a little tipsy) it might be better to postpone the cleaning. Damaging these pieces is easy and it is better to avoid unnecessary risks.
Instead, empty the decanter if there is any wine remaining and fill it with hot water and let it soak for approximately 10 minutes. Rinse thoroughly. Now, it is safe for you to go to sleep and worry about cleaning for the next morning, but hopefully no later than that.
It may be the case that this rinsing is enough depending on how careful you want to be, and the type of decanter and wine consumed, with red being the hardest to remove. If you are satisfied with the results from this first step you can go straight to the Final Touches section.
The Actual Cleaning
There are various methods for cleaning. Each comes with its pros and cons. Let us take a look at the most popular options and see which ones suits you best.
Cleaning Beads - Our Personal Favourite
Cleaning beads are little stainless-steel balls that excel in reaching the most troublesome parts of your decanter. The only thing you need to do is grab some hot water and pour it inside. Then, gently insert the beads and swirl. Because they are so small, they can clean otherwise impossible to reach places without scratching the glass due to their smoothness and sponginess.
When you are done just drain them out to a new vessel and rinse them with hot water. Take your time doing this to make sure you do not lose any ball. Let them dry before you store them.
The only downside of this method is that it is more expensive than the other ones shown here. But it is our opinion that the beads pay themselves by ease of use, efficiency and time saved. They are reusable and will last you for a long time. Therefore, this method is our number 1 recommendation. Check the video below for a quick demonstration.
Coarse Salt and Crushed Ice – For Sturdy Decanters
This method shines because of its easy to get materials that already are already available at most homes. You just drop some pinches of coarse salt for an enhanced effect and then add crushed ice. Swirl it with some vigour but not too strongly. Lastly, you can let wait for the ice to melt a little or add some room temperature or lukewarm water (remember that glass dislikes large temperature variations).
This technique is effective and easy to implement but its drawback is that the crushed ice or salt may scratch the glass. For that reason, we recommend using it on robust decanters or on those that are not as precious to you.
Vinegar – The Homemade Method
A gentle alternative to the previous method. However, be mindful that white vinegar is better suited for this task as it is a more powerful cleaning agent than its normal counterpart.
Just pour some hot water on the decanter and then splash some vinegar. Swirl it around as needed. Remove the solution from the decanter and add hot water again to remove the smell. If this is not enough you can repeat the previous steps and add some uncooked rice with the vinegar for maximum effect.
The obvious advantage of this method is its gentleness and natural ingredients. However, the smell of vinegar may be difficult to remove and interfere with the taste of the wine in the future.
Denture or Coffee Cleaning Tabs
Personally, we have never tried this with pvra glass but it is often recommended from credible sources so we thought you might want to give it a go.
Fill in hot water into your decanter and drop a tablet inside and let the bubbles do all the dirty work.
You might see improvements in the shine of the glass afterwards with the added benefit of not leaving any smells or flavours behind. The cons of the tablets are the fact that they may take longer to clean and adds another expense.
The Final Touches: Polishing, Drying and Storing
Now that your decanter is finally clean it is all about keeping it ready for the next time you use it.
Polishing
If you want that extra sparkle and make an impact with your glass piece, you can polish it. Simply boil some water and put the decanter on top of it to absorb the steam (without touching the water). Here is a video on how to do it with a glass cup.
Drying
The next step is drying the decanter, and this can be a challenge depending on shape. There are two tools we highly recommend. The first one is a microfiber cloth to dry the exterior quickly without leaving any debris.
The second is a decanter drying stand allowing you to dry the decanter upside down without chipping the neck. This is what we recommend. If you do not have one, try leaving it upside down and let it rest on some cloth to protect the glass from scratching on other glassware or cutlery.
Storing
It is best to store in a place with air circulation. Cupboards and cabinets often leave a smell on the decanter and may affect the wine experience, so it is best to avoid those.
If you are having problems with condensation make sure you are drying it correctly and for an enough period of time. Then, drop a silica packet inside. In case the neck is too narrow, you can always attach a string to the packet to make it easier to remove it later on.
And that is it. You are now ready to use your decanter without fearing of cleaning it. Happy decanting!
Bonus Tips
- Wash your decanter regularly to avoid stains and residue accumulation.
- Rinse with warm/hot water immediately after use.
- Use water with low mineral content if possible.